Well.
As you can see, Ari, what you propose requires approximately as much technology and safety equipment as the International Space Station.
I have actually caused jewelry to occur, starting with chunks of silver "sheet metal" and wire and finishing with, you know, stuff you can wear. I even made a nice little side income out of it at one point. This process of jewelry making you describe is known as "construction" as opposed to several other methods such as wirework or lost-wax casting. I didn't have much in the way of technology, because I didn't have much in the way of money.
You need:
1) A fireproof pad. In my day, we used asbestos. It didn't hurt me a bit. Didn't hurt me a bit. Didn't hurt me a bit. MAKE THE VOICES STOP SINGING!!!!!
Don't worry they won't sell you an asbestos pad. They'll sell you something that doesn't work as well.
2) Some silver solder. It comes in sheets, not wire, and you snip off little squares of it to place between the pieces you are going to solder. If you use silver solder, you can legally stamp your finished pieces with "SS" for Sterling Silver. If you use other solder, you can stamp them, "I Screwed Up and This Is Worthless Metal Because It Is Permanently Polluted With Ickiness."
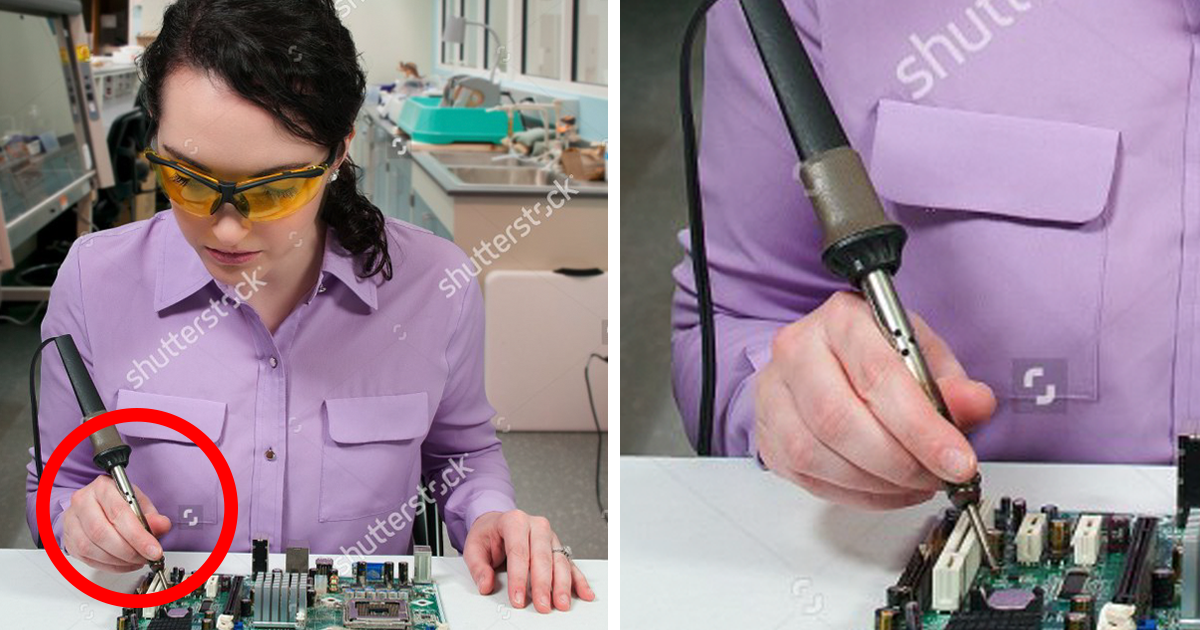
3) A torch. I don't know about this electric business -- you want a good ol' Bernz-o-matic propane torch which you can obtain for about $15.95 at the local Ace Hardware.
4) Some plates of silver which you can obtain at your local jewelry makers' supply or, possibly lapidary supply. To cut these into (rough) useful shapes, you need a jeweler's saw and some spare blades. A jeweler's buckskin hammer is pretty much a must to bash things into shape, such as rings or bracelets. A little set of jeweler's files are a really nice thing to have to add that "professional finish" to things. If you have a Dremel tool, great, you can use that for shaping and polishing. Otherwise, you'll be doing lots of work with your new buffing sticks from the jewelry supply.
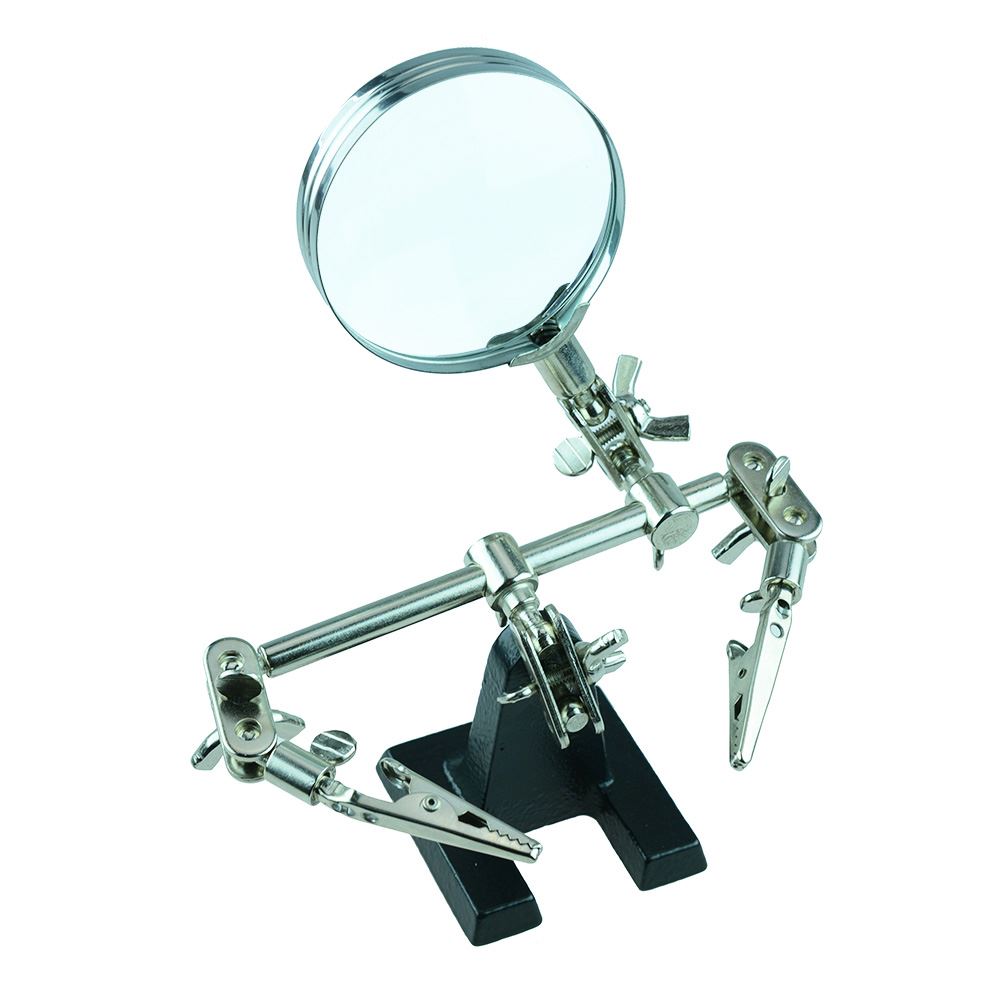
You are going to be soldering pieces about the size of a quarter. The actual soldering takes less than a minute. You don't need a fume hood, separate building, or whatever. A nice size fireproof pad on your dining room table and you're in business. A puny fireproof pad on your dining room table and you're in the furniture refinishing business, so don't cheap out on the pad. Use a cheap fan to blow away the fumes, but they're not awful. (BTW, the flux in electronic solder is pine rosin -- dude, it's organic.)
You sandwich little chunks of silver solder -- you'll need some nice shears to cut them, ask at the jewelry maker supply place -- between the pieces you wish to join. You'll make little squares about 1/8" x 1/8". Even smaller, sometimes. Add a little flux. (Jewelry supply place.) IT WON'T KILL YOU! You heat up the pieces until the solder melts, then STOP HEATING THEM. If the silver is glowing red, it is hot enough. They whole key to soldering is "heat the piece, not the solder." That way the solder actually sticks the pieces together.
I'm sorry to tell you, but despite my excellent coaching, you will melt some silver. It's still silver. It isn't a tragedy. You'll just make it into something else.
Learn how to harden and soften your pieces with heat. There are books. It's not hard.
While you are getting acquainted with your new best friend at the jewelry maker/lapidary supply place (which, by the way, is where you'll be buying lovely stones to set in your pieces) be sure to get some pickling solution, which will clean all the icky tarnish off your silver instantly after you solder it. If you get real crazy, ask them for some liver of sulfur, which makes silver turn instantly black and smells like farts. You dunk your piece in a solution of that, then polish it, and the sunken parts stay black for contrast. (Or not -- it's an art thing.) You'll also want some "rouge" for your Dremel tool/polishing sticks.
If you're making rings, get a ring mandrel. For bracelets a bracelet mandrel.
There are lots and lots of other cool tools, but you don't need them all. Yet.


 )
)


:max_bytes(150000):strip_icc():format(webp)/__opt__aboutcom__coeus__resources__content_migration__serious_eats__seriouseats.com__2020__02__20200117-wok-hei-hack-vicky-wasik-collage7-flames-text-8771c2c3bb984e9aa8636bd6ca77edc5.jpg)